Magic Picture Changer Card
print & cut and svg files

Pull up on the tab to change the picture in the TV screen

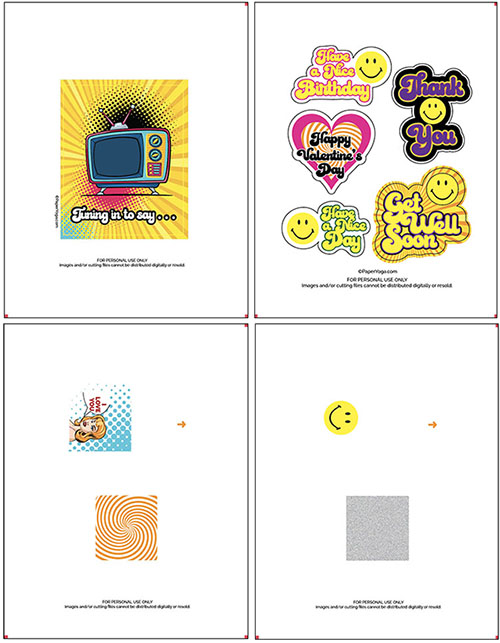
print files shown above (cut files not shown)
| "Magic Changing Picture" SVG Print & Cut Digital File Pack includes:• print-and-cut front card image print file • print-and-cut front card cut file • 2 different print-and-cut "slider" print files • "slider" cut file • print-and-cut card sentiment print file • card sentiment cut files • cut file for card interior PRICE: $5.00 
|
Silhouette Print & Cut Instructions
Magic Picture Changing Card
- Open Silhouette Studio software and import the tuning-in-front-print.png print file into Silhouette Studio using File > Open command. Turn on registration marks and send to your printer (print on 80lb cardstock) using the File > Print command. Please note that the file should automatically be centered on the 8-1/2" x 11" background field in the software upon import.
- Import the tuning-in-front-cut.svg file using the File > Open command.
- Place the printed file onto your cutting mat, turn on registration marks and load the cutting mat onto your Silhouette Cameo. Use the SEND option to cut the file using the auto blade. Suggested settings are Blade: 6, Force: 33, Speed: 3 and Pass: 1.
- Repeat the 3 previous steps with magic-slides-print-woman.pdf or magic-slides-print-smiley.pdf for printing and magic-slides-cut.svg for cutting.
- Repeat steps 1 through 3 with tuning-in-sentiments-print.pdf for printing and tuning-in-sentiments-cut.svg for cutting.
- Import the tuning-in-base-cut.svg file using the File > Open command. Place a blank sheet of card stock onto your cutting mat and use the SEND option to cut the file using the auto blade. Registration marks aren't needed for this file.
Assembly Instructions
Magic Picture Changing Card
- Lay the cut out front card piece face up on a cutting mat and lightly score along the pale yellow (gray on black and white file) lines on the sides, top and bottom. Fold down along all of the score lines so that you have 5 tabs. Put this piece aside for now.
- Fold the base card (from tuning-in-base-cut.svg file) in half along the dashed cut score marks and set aside.
- Assemble the "slide" insert by holding the larger piece (with swirls or gray fuzz) on top of the smaller piece printed with the woman's face or the smiley face.
- Insert the downward facing points of each of the 3 cut out strips that are on the larger top piece into the corresponding cut out lines on the lower smaller piece. The blue, purple and red dots will help you associate the coordinating "strips" on the larger piece and cuts on the smaller piece.
 The blue, purple and red areas represent the cut "strips" on the larger slide piece (yellow) placed on top of the smaller piece (gray). The blue, purple and red diagonal lines represent the cuts on the smaller piece below.
 - Bring the tab from the smaller bottom piece up through the slit in the upper portion of the top piece, and then place the small tabs on each side of the smaller piece in through the slits on each side of the larger top piece.
- Move the tab and up and down several times until the images move freely. Turn the slide assembly so it's face down.
- Place the front card piece face down and then center the slide assembly over the back of the card front piece (piece with TV screen cut out).

- Fold top tabs (numbers 1 and 2) over onto the slide assembly and tape or glue the tabs onto the back of the slide assembly. Fold bottom tab (number 3) over onto the slide assembly and tape or glue the tab onto the back of the slide assembly. DO NOT tape or glue either of the longer tabs (number 4 and unmarked) onto the back of the slide assembly.

- Take the folded base card and align the center (at the fold) with the inside edge of tab marked as number 4. Place a strip of double sided tape or use gule to attach the tab to the back of the base card.


- Open the base card and fold the unmarked tab over the inside of the base card (see top image above). Use double sided tape or glue to adhere the tab onto the inside of the base card.
- Glue or tape your choice of inside sentiments from the tuning-in-sentiments file onto the inside base card.


